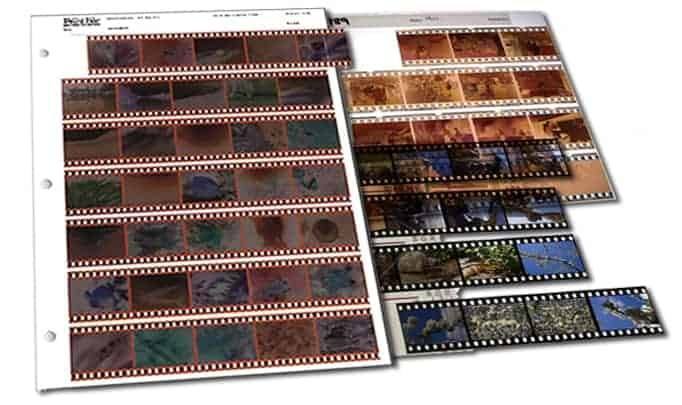
If you have some old pictures from a film camera that you want to digitize and store on your computer, you’ll need to know the steps to do so as well as use a reliable device to finish the job. You can choose one of the devices on our list of the best film scanners.
Once you have a device ready, there are some steps you have to follow to get the best-digitized versions of your photos.
You have to realize that the final results will still be affected by the age of your film and how much it degraded.
Be Selective of the Negatives You Scan
Scanning negatives can be a long process, so make sure you exclude any out-of-focus pictures or ones that are poorly exposed.
Be very picky when it comes to the negatives you end up scanning.
If you’re scanning slides, hold them up to a light or pop them on a lightbox to see which ones you want to scan. العاب قمار مجانا
On the other hand, you can look for the frame number on the back of the shot if your film was developed in a minilab.
Preparing Your Negatives for Scanning
To handle your negatives with appropriate care, put on a pair of gloves. They don’t have to be expensive, cotton or nitrile gloves will do.
The important part is to keep fingerprints away from the delicate film.
After cutting the negative, you want to scan from the strip and before you start scanning the negative, clean it and flatten it first. ربح المال من الانترنت
A mix of compressed air with a microfiber cloth dipped in distilled water mixed with an agent would do a great cleaning job.
Moreover, you can use a stronger option such as 98% isopropyl alcohol and gently wipe it onto the negative using a cotton swab or lint-free cloth.
Scanning the Negatives
While just putting your negatives on a flatbed scanner, hitting a button, and calling it a day may seem like a tempting option –it’s not the right one.
Place the negative carefully in the centre of the scanning bed and align it with the sides of the scanner. Place an 8-1/2 x 11 piece of paper on top of the negative without moving it.
You’ll need proper illumination in order for your scanned negative to look good. That’s why you should shine a light from your lamp through the negative.
Keep the scanner lid open, or remove it entirely if possible, and turn the lamp on. Position it around 4 to 6 inches above the piece of paper with the negative underneath it.
For the best results, your negatives should be backlit.
You can get some silver cardstock with acceptable thickness and fold it up into a wedge.
Put that wedge behind your negative. موقع مراهنات عالمي The light from your scanner will hit the wedge and reflect off of it. This process gives you an effective backlight for your scanning process.
Afterwards, upload the image on an editing app or use your software to invert the colors.
Crop the image so that only the image on the negative appears.
You can also do other corrections as required in order to convert your negative into the photo you envisioned.
Finally, save your image as a JPEG or a GIF file.
Converting into a Positive
If you want to print the image so you can have a hardcopy of your photo, you have to convert it first.
Open the image into your photo-editing software and find the “Positive Exposure” or “Invert Image” option in the menu responsible for conversions into positives.
Once you click “Save,” you’re done.
