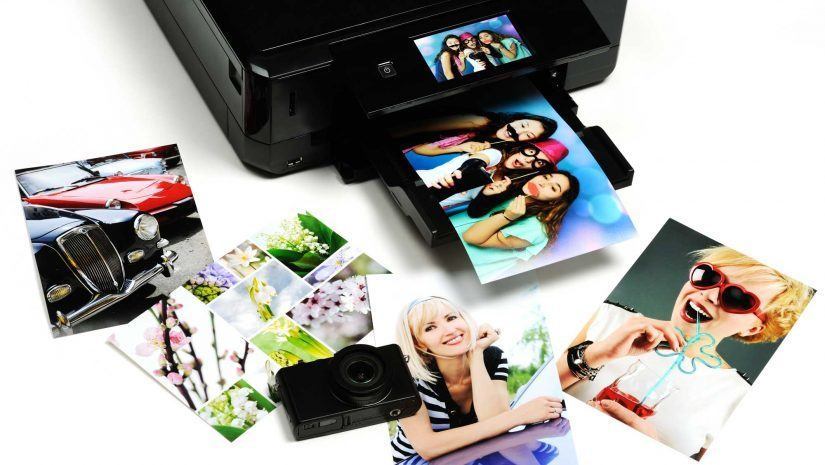
Do you have some nice photos that you want to print? Only relying on a good photo printer won’t do the trick.
In this article, I’ll give you some tips and techniques that you can use to produce the best quality photos when you’re printing at home.
1. Determine the Right Print Size
Whatever size you dictate to your PC, it’s going to print. However, that doesn’t mean that the result will always be great.
That’s why you have to have enough pixels in your image to get sharp results.
Many factors affect the quality of your prints, and to get an acceptable image quality, you shouldn’t settle for less than 200 DPI. 300 DPI would be the best quality for most photos.
The easiest way to figure out the best print size for a certain photo is to divide the photo’s pixel size by 200 or 300 –depending on how you’d prefer the quality of your photo.
To know how many pixels there are in your photo, right-click the image file’s icon, choose “Properties”, then click the “Details” tab.
So if your photo measures 2200 x 3400 and you divide each by 200, you get 11 x 17. This means that 11 x 17 is the largest size at which you can print the image in an acceptable quality.
This is not to say that this technique guarantees the perfect results, but it gives you a standard to which you can compare and decide whether your photo will print well.
2. Choose the Right Print Paper
There are many types of print paper out there and for a good reason. Each one serves a certain purpose and not any paper will work well with photos.
Plain paper, for example, absorbs ink and makes the colors look washed out. That’s why you should stick with the printer manufacturer’s recommended photo paper.
But here’s the catch, even photo paper comes in various formats. gaminátor játék The most common ones are glossy and semi-glossy (matte).
Glossy photo paper is shiny and provides your images with a nice visual effect. However, it’s very reflective so it generates a glare in direct sunlight. It can also smudge quite easily. موقع مراهنات عربي
On the other hand, semi-glossy or matte paper is less reflective and less smudgy. Of course, it’s not as sharp as glossy paper so some of the finer details may be lost in the surface.
3. Use Manufacturer’s Ink
Sometimes, to be more economical, I’d recommend using refilled, remanufactured or third-party cartridges.
However, printers are engineered to give their optimal performance with specific ink formulations and when it comes to photo prints, nothing beats the results of the ink recommended and sold by your printer’s own manufacturer.
4. Double-check the Print Settings
Before you click the “Print” button, make sure you’ve adjusted all the important settings to avoid any lousy prints.
These include if the paper is loaded correctly, setting the right paper type and ink type in the print setting dialog.
Setting the printer’s setting for high-quality paper and ink when printing on plain paper may be harmless, but using draft settings while printing high-quality photo paper can completely ruin the quality of your final output. gaminator hack apk
5. Provide Your Printer with Maintenance
Taking good care of your printer means that it will consistently give you good result.
Inkjet printers especially have nozzles that can cause a hassle with their occasional clogging. العاب مراهنات
That’s why I recommend running your printer’s head cleaning and print head alignment utilities every couple of months.
A printer that doesn’t get used for weeks at a time will definitely get clogged, so make sure you print at least once a week. Even if you don’t need to.
6. Mind the Direct Printing Options
If your devices give you a choice between printing directly from the camera or memory (card and USB keys), make sure you try out both.
The two choices can give you considerably different output quality for the same file. legjobb online fogadóiroda This includes colors, brightness, and retention of details.
7. Preview Your Photos Before You Directly Print Them
If your printer supports direct printing from memory cards, it may restrict you to previewing photos by printing an index sheet or by looking at them on a built-in preview screen.
Depending on the circumstances, you may use either option if they’re both available. كيف تلعب لعبة البوكر
The preview screen is faster as you wouldn’t need to print twice. This means it also costs less.
On the other hand, index sheets allow you to make a better decision when it comes to the version you want to print at full size.
A printed thumbnail will work better than the preview screen when it comes to displaying how colors will look in the final photo. This way, you can guarantee that you’ll get the ideal final output.
