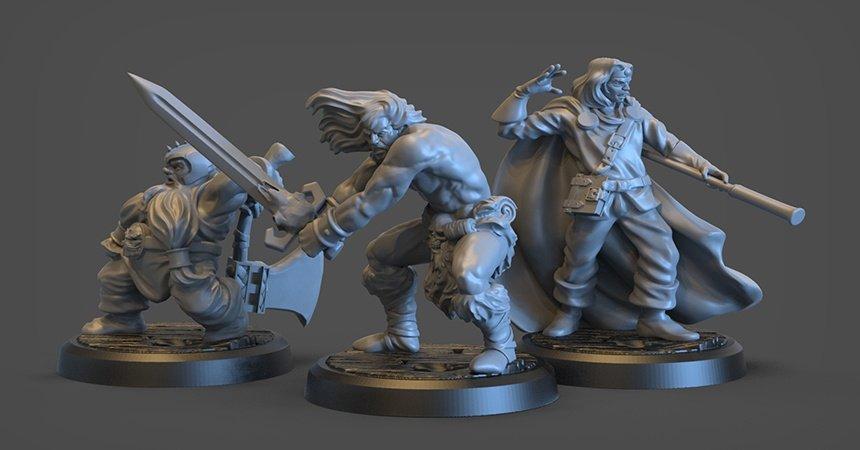
To successfully print your 3D miniatures and figurines, you must have an eye for detail and high precision. szerencsejáték tippmix
In this article, I’ll guide you through the 3D printing process with all the settings and practices that help you print a great final output.
Designing the Miniature
Selecting a Model
If you don’t have a 3D model of the figure you want to turn into a miniature, search for it.
Many websites have various options for free use such as Thingiverse.
Determining the Scale
You have to know how big or little you want your miniature to be. For realistic results, estimate how tall the original figure is and scale that to mm.
After that, you can use a scale such as 1:35.
So if you estimate the original figure to be 5 feet tall, multiply that by 12 inches/feet, and you’ll get 60 inches –what we call a full scale. Multiply that by 25.4 mm/inch, and you’ll get a 1524 mm (full scale).
Divide the full-scale number in mm by the scale you chose at first –in this case, 35. You’ll get about 43.5 mm (1:35 scale).
Create the Base
Use OpenSCAD to program your model instead of redrawing it.
On there, you’ll create the base. This step is very easy as you can define a cylinder using only two diameters. The first one is the base diameter, and the second is diameter2.
Around 30mm would be good enough for a base. لعبة الروليت مجانا This number works well with human-sized miniatures at a 1:35 scale.
Press “Preview” on the toolbar to see the cylinder in the display area of the screen.
Render and Export the Base
Once everything seems okay, it’s time for you to render it. Click “Render” and see if it works without error.
The display area should now show you he rendered model and the console area below should show you the results.
Finally, export the model to an STL file to print it later.
Create a Model in Meshmixer
Meshmixer is a free and excellent 3D modelling tool. First, download a version of the program that suits your computer’s requirements.
After you set it up, just make sure to select the “Flip Z-Y axis on Import-Export” from the “Preferences” in the “File” menu.
This is because most 3D modelling tools label the vertical axis “Y”. However, this one uses Z as the vertical axis.
Import the Base
Select “Import” from the centre of the main window after clicking the “Import” button on the left-hand toolbar.
After that, select the .stl file of the base you had created in OpenSCAD.
The base will appear at the bottom of the platform in the main window.
Import the Model
Click “Import” on the left toolbar again, and Meshmixer will prompt you to Replace or Append the existing model.
Make sure the “Flip Z-Y on Import/Export” is selected and click “Append”. tippmix tippek
Select the .stl file you want to import.
Meshmixer will again ask you if you want to automatically fix the new model as it’s bigger than the existing one. العاب قمار حقيقية Decline this and scale the model yourself.
Finally, you’ll be able to see the model in the main window.
Scale the Model Body
Click the Edit button from the left-hand toolbar and select “Transform” from the tool window
Make sure that “Uniform Scaling” is selected and change the Size Y value to a suitable length.
Don’t forget that you need to move the model downwards once you shrink it so that it become visible on your screen.
Change the Translate Y value to -40, and you’ll be able to see your model again.
Click on a different field if you want to see the changes previewed and click “Accept” when you like how it looks. لعبة بلاك جاك اون لاين مجانا
You might need to select “Recenter View” from the menu to display everything in the main window.
Place Body on the Base
Use the transform tool from the Edit toolbar to translate the body and embed its feet in the base.
Next, select both the .stl model and the model for the base in the Objects Browser and use the “Combine” tool to turn them into one model.
Export the STL File
Finally, export your masterpiece by clicking the “Export” button on the left-hand toolbar.
At this point, your model is ready for printing.
Final Thoughts
Making your own personalized 3D miniatures is very fun and gives you the freedom to decorate your desk or shelf with things that you enjoy.
It just takes a good 3D printer, some practice, and understanding the different scales, axes, and numbers associated with the process.
